Making a Grid
First: What About Minis?
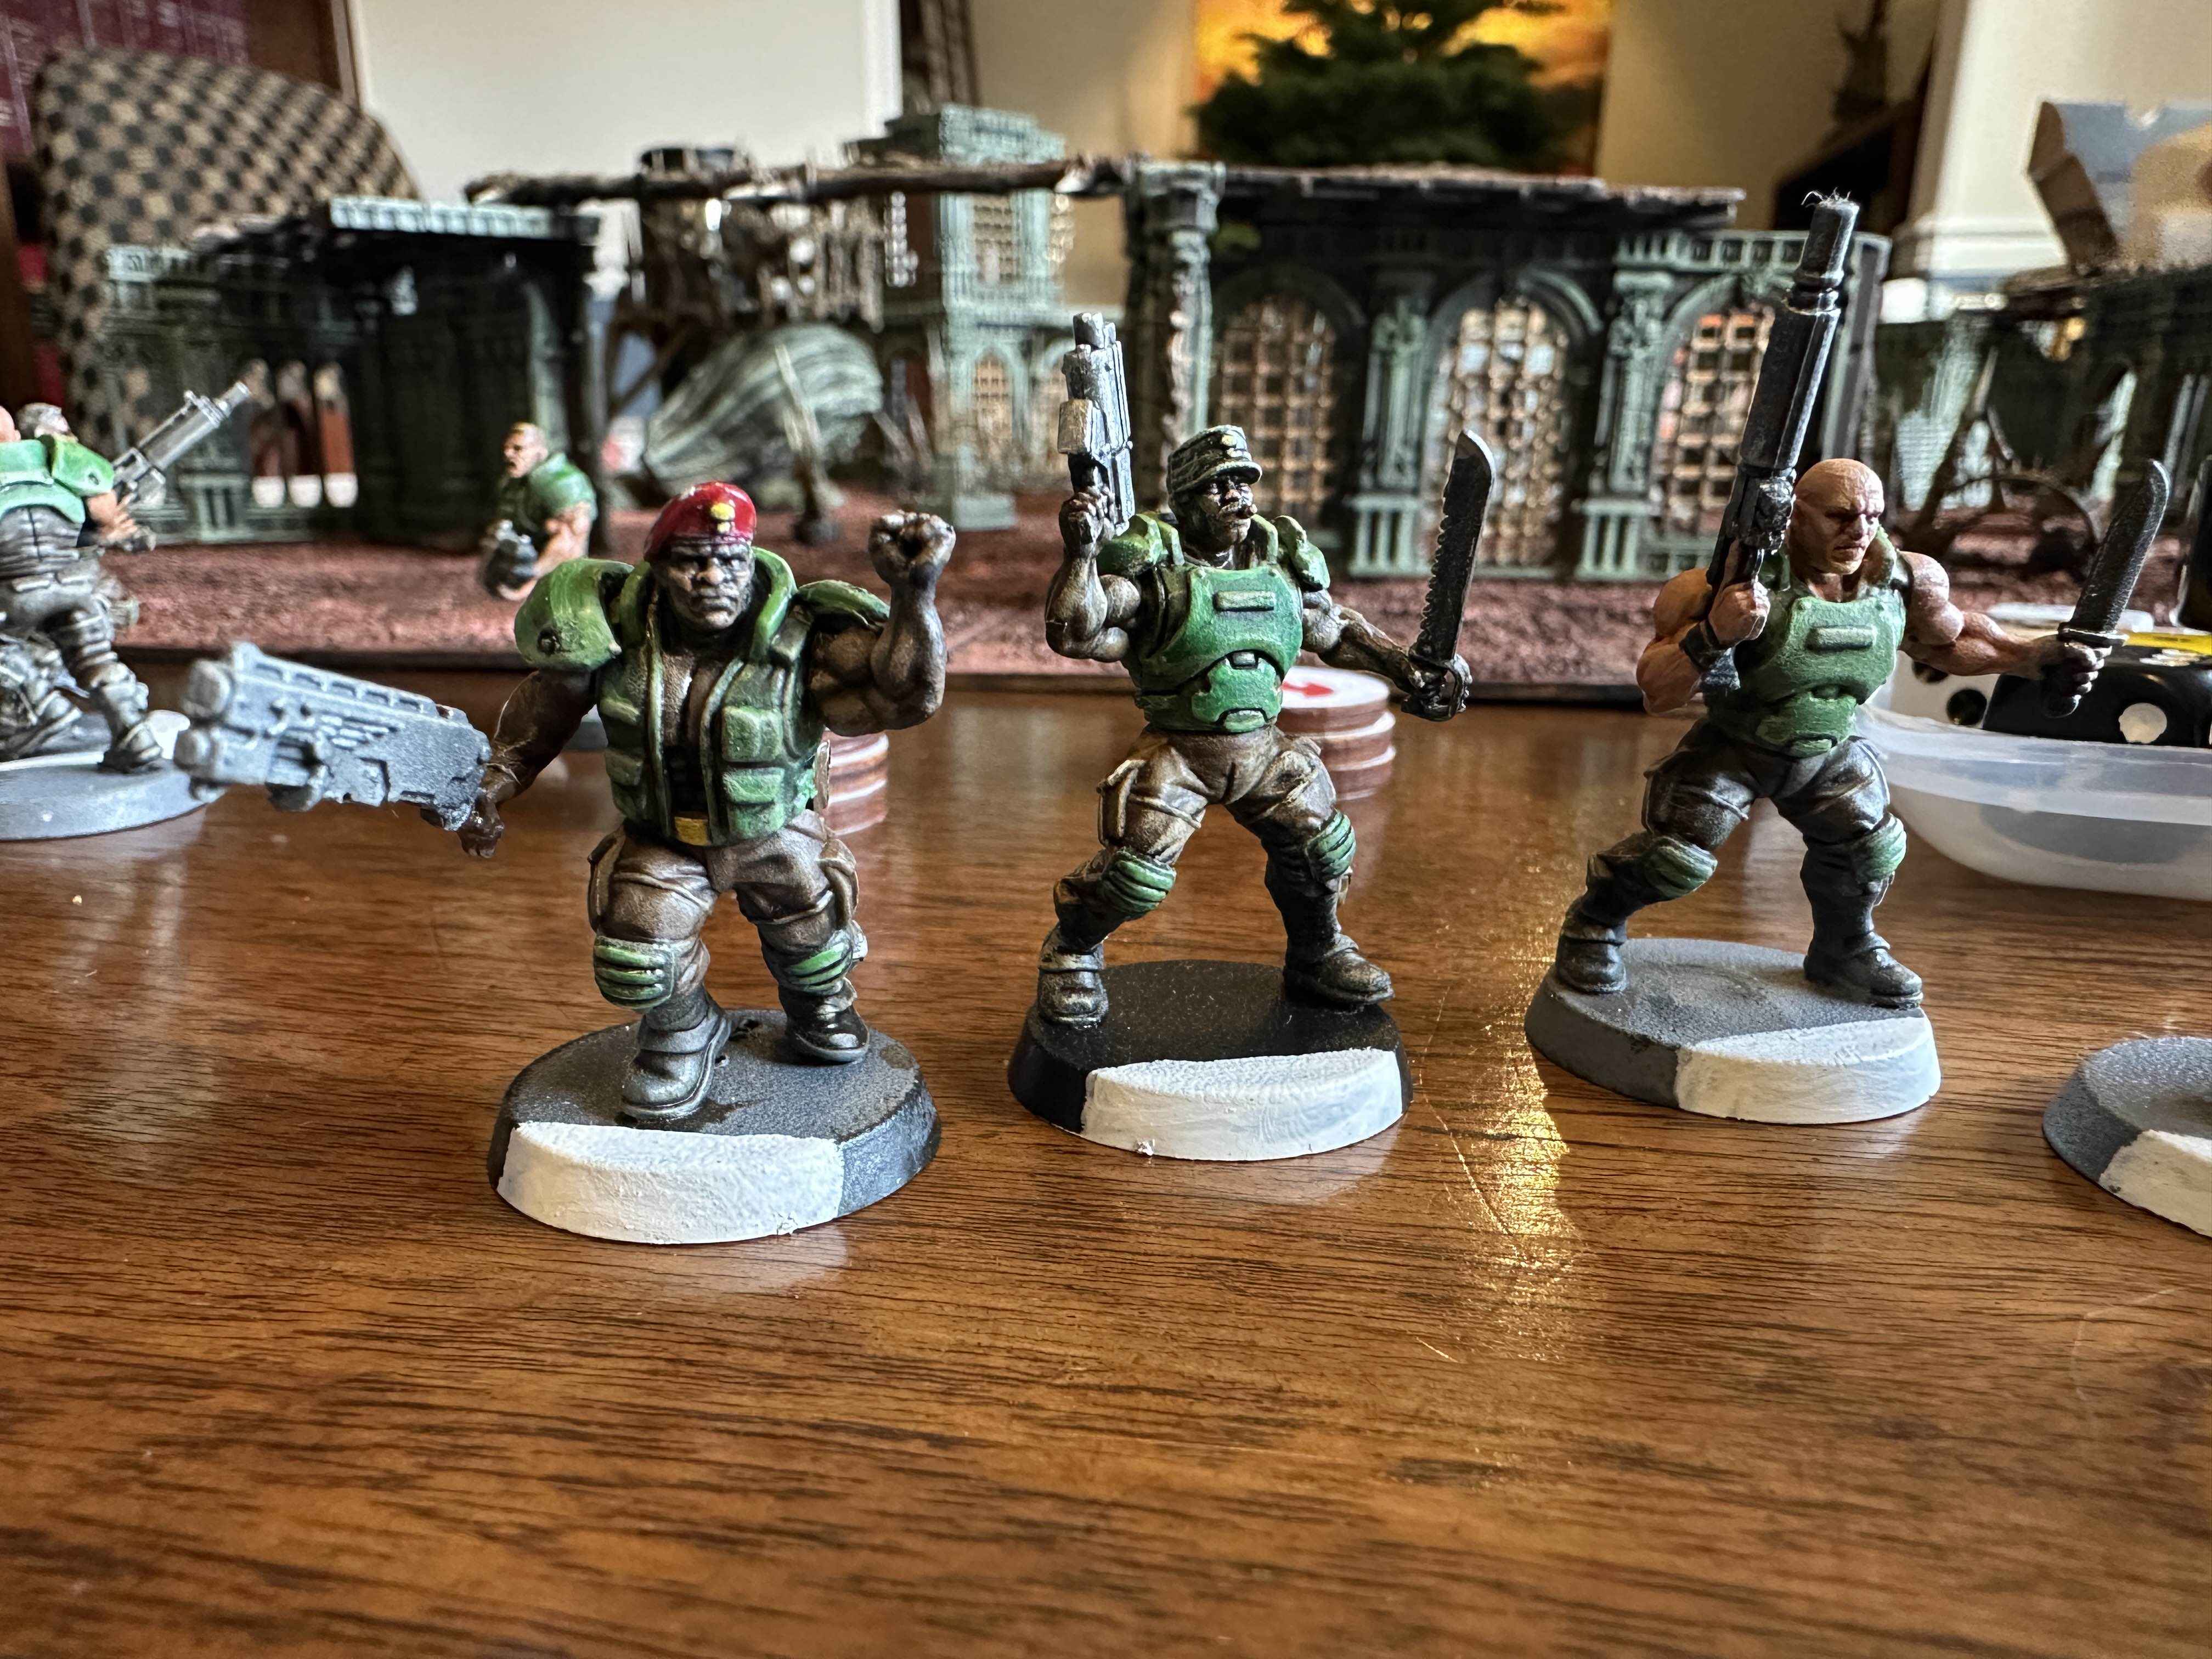
For anyone looking for a good kit to make a fireteam you can't do better than Wargames Atlantic's Space Nam set. I modified these guys with these shoulder pads to really evoke the DOOM vibe.

Now with that out of the way
Getting On Board
This game has some weird stuff going on. The whole “refusal” mechanism is bizarre. The “fiction” is only sort of vaguely gestured at. But I think one of the biggest barriers to entry for folks is the idea of making a grid. It’s not normal. It’s maybe even distasteful.
So I thought I’d talk about how I’ve done it.
The board has evolved. For a long time, the game simply used measured movement. The measured movement rules I’ve included lean heavily on Brian Shotton's game MERCS.
But I had this idea for grid movement, and I bounced it off the Rule of Carnage Podcast discord. People liked it, so I tried it out, and I loved it. It speeds up the game immensely by not forcing you to measure or argue about distances. Especially with Support Fire, every attack may involve three (or more!) measurements.
So, I bought some Catan-size hexagons on Amazon, found a simple cobblestone texture, and made myself a grid.

This first grid worked well, but it started to feel a little claustrophobic. Tiles could nominally hold more than one model, but holding more than two and some terrain became messy. Also, the game felt small.
I wanted to make something cool, so I thought it was time to step up my game.
First, I wanted to experiment with giving the game more breathing room, so I looked for a larger-sized tile and found these square tiles.
Now, square tiles might seem weird, but if you set them up as an offset grid, they work just like hexes

Then, I took the techniques from this video:
I applied them to the tiles to make the board you see above
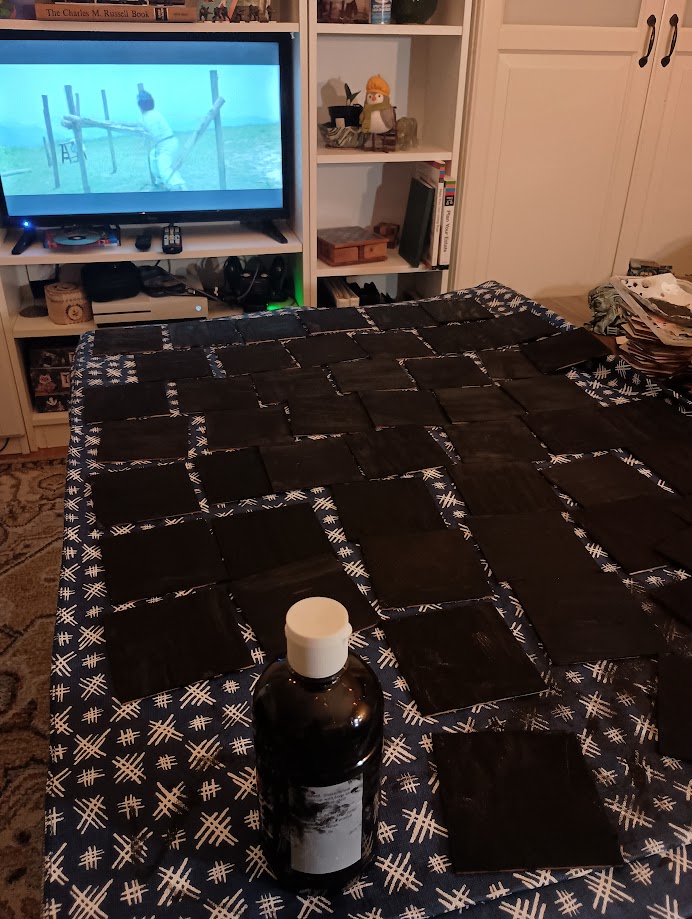
Step 1: Paint it Black
Originally, I used the method from the video here, but after five coats, I just hit everything with a can of matte black spray paint I had lying around. Then, I let it dry overnight.

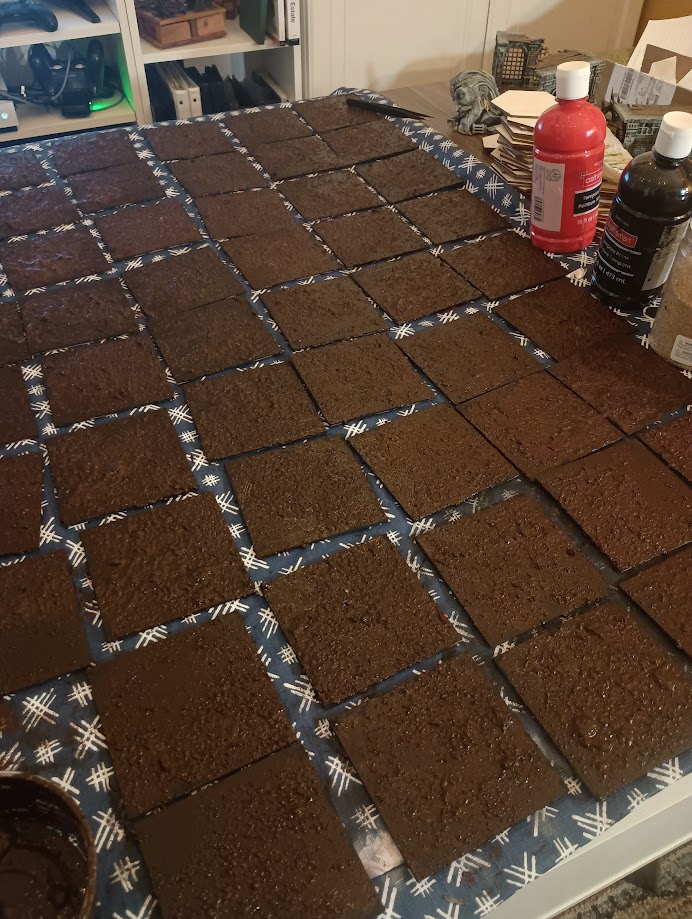
Step 2: Crunchy
Next, I made a mixture of dark red, sand, and glue and daubed it on with a sponge brush. I made sure to make some parts more lumpy than others to add visual interest. Then, I let it dry overnight.

Step 3: Get Your Ass to Mars
Once everything was textured, I mixed more red into my tempura paint and some cheap yellow acrylic I had lying around to make a dark, rusty color. Then, I stippled this on with a cheap sponge brush I had for painting walls.
I added more yellow and red to make it brighter layer after layer.
Eventually, I split some of the paint off and added some green to make it browner and less orange.

Lastly, I made some pink paint and applied an irregular coating.

I waited about 30 minutes between each of these layers, but you could hit it with a hairdryer if you’re doing it all in one sitting.
And there you go, with about $35 of supplies and a couple of hours, I have a beautiful reusable board.
Get Brimstone and Lead: Arena
Brimstone and Lead: Arena
Deathmatch Skirmish Rules in the Crucible of Hell
| Status | In development |
| Category | Physical game |
| Author | dgreen1220 |
| Tags | Tabletop |
More posts
- Big Changes Coming53 days ago
- Making the Rules Free69 days ago
- Measured Movement and Other UpdatesJun 11, 2024
- New VersionMay 29, 2024
- Now with 100% more filesMay 14, 2024
- How Does Refusal Work?May 14, 2024


Leave a comment
Log in with itch.io to leave a comment.